While I'm finishing up mending, garden seed shelling, and my crackle sampler notebook, I'm thinking about my next weaving projects. With two looms, I can plan two projects!
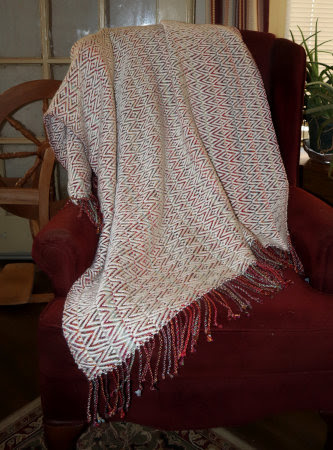
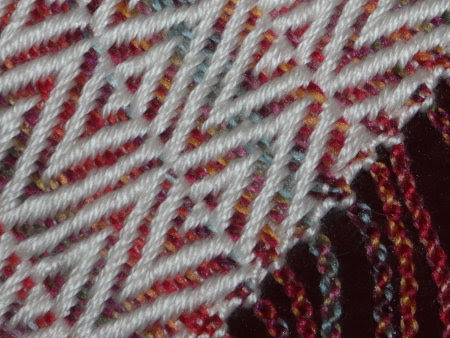
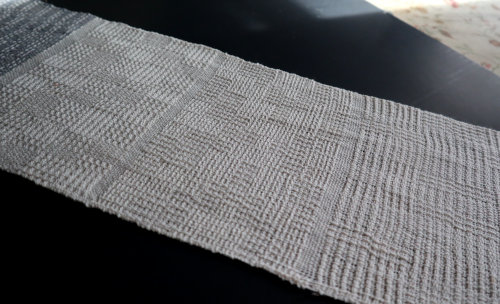
On the Glimakra, I next want to weave a coordinating runner rug in the same threading and yarns as my Dornik Herringbone throw rug. The lap robe used the same threading with a different treadling, and the runner will tie on to the same threading again. But I have a completely different look in mind. I'm reluctant to start on this, however, because this room will likely be our next renovation project.

The brickwork is the back of our masonry stove, but as you can see, the entire wall needs finishing. I'm especially looking forward to remodeling the closet.

Removing the tongue-and-groove boards will open entire closet from floor to ceiling. As it is now, I can't fit anything of size above the shelf at the top of the small closet door. Yet there is a lot of storage space above that shelf, which I can't use because I can't fit anything through the opening. The plan is to remove all the tongue-and-groove and put in by-pass closet doors with a large roomy shelf above.
All of this renovation promises to be a very dusty project, however, hence my reluctance to put a new warp on the loom.
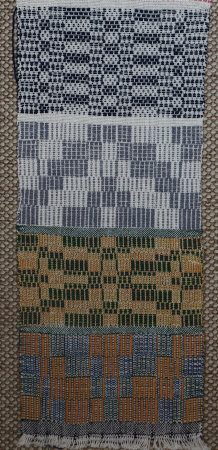
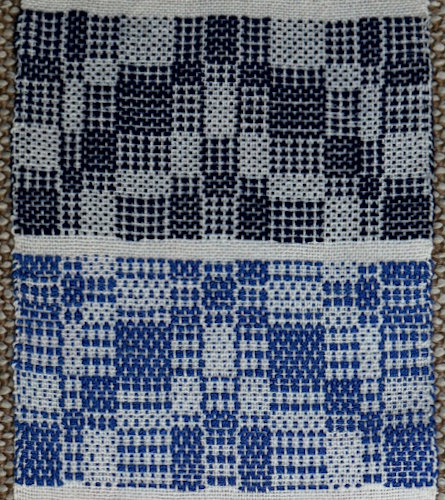
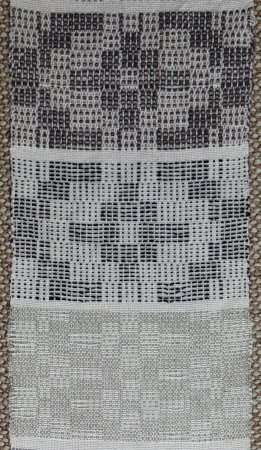
Of my table loom, I had already planned to further explore some of the samples from my sampler. I'm thinking I might start with the pictorial manner of weaving and do a snowflake and pine tree table runner.

|
|
Mary Meigs Atwater's
The Recipe Book, Series I, "Coverlets," Recipe No. 12. |
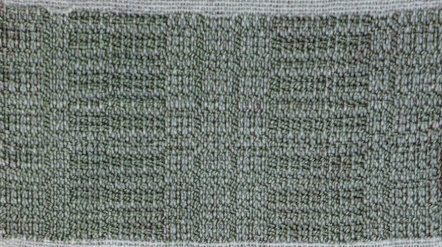
The tree sample I wove didn't have the correct threading, so I wasn't
impressed with it. I'm thinking to adapt the above coverlet motif for a
Christmas table runner.
So, thinking is going on, but that's about it. After the holidays I'll have a better chance to get serious with some planning.