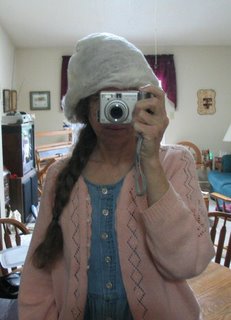
Well, surely not that.
I found the caps (or bells) to be a very different preparation from the silk brick, which is combed. The caps are made directly from cocoons, which are stretched over a mold. One cocoon after another is layered on top of the others, creating a multi-layer silk cap.
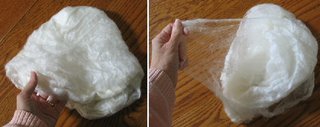
I tried separating the layers in two different ways. First by finding the edge of one layer as shown here and pulling it off. I also tried to separate layers by pulling them apart from the top of the cap. I was less successful with the second method.
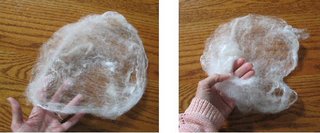
Then I started a hole in the center of the layer.
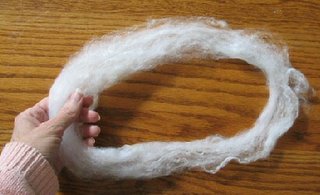
And started to stretch it out into a ring.
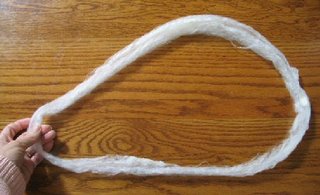
And stretched.
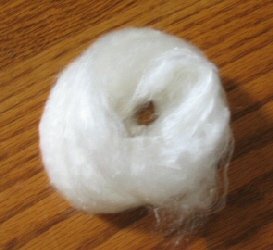
And finally wound it into a neat little birds nest.
This preparation spins up into a wonderfully textured yarn.
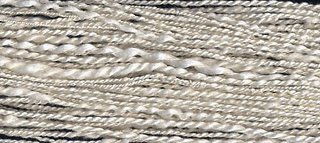
The particulars:
* Total weight 16 gms
* WPI vary
* Yardage, >44
* Spinning ratio 12:1
* Spun worsted
* Plied back on itself
* Contained lots of neps
The challenge:
* The length of the fibers! I’m not sure what that was exactly, but I’ve read that cocoon fibers can be a mile or more in length. I found that I needed to keep a very long drafting triangle and held my hands 12 to 18 inches apart during drafting. I learned to pre-draft to close to the size I wanted to spin, so that very little drafting during spinning was necessary.
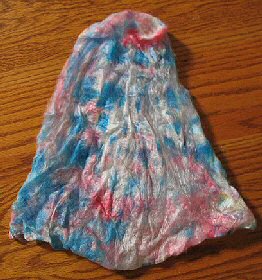
After I finished the caps in my silk goody package, I rooted around in my stash for some painted caps I was given a long time ago.
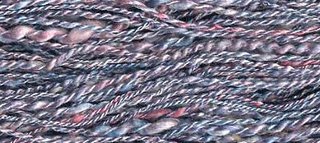
The Particulars:
* Total weight 16 gms
* WPI vary
* Yardage, >51
* Spinning ratio 12:1
* Spun worsted
* Plied back on itself
The Challenges:
* I’d have to say none as I’d had plenty of practice on the first set of caps. I did find that the dye made the fibers a little stiffer to work with, but this was not a problem.
Related Posts:
Homemade Silk Caps - how to
Knitting With Silk Hankies - Do-able with caps too
My Flickr photos - All my silk photos
No comments:
Post a Comment