 My supplies:
A. 110 pound card stock. This comes in white or colors
B. Shape templates - I found these in scrapbooking supplies
C. Shape cutter - ditto
D. Stickers, the acid free kind
E. Pre-cut trifold aperture greeting cards - available at craft stores
F. Plastic sleeves for the insets
G. Handwoven fabric scraps
H. Envelopes
 The ready made trifold cards are nice, but if they can't be found, it's easy to make one's own. I used purchased invitation envelopes and so measured my card stock so that it would fit after being folded in thirds. I have to use a paper cutter as my scissors work is usually pretty crookedy.
 If I'm in a hurry I eyeball folding it into thirds. Here I'm being good and doing the job properly. (Note: I'm not a lefty, but have a right-handed camera.)
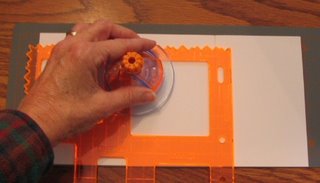 Cutting the aperture is easy with the template and shape cutter. The hardest part was centering it.
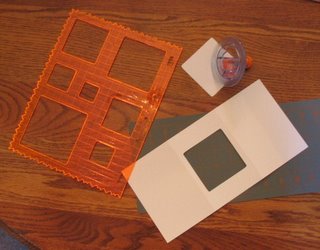 Being a saver, I usually save the cut-outs. Some of the fancier shapes can be used for making cards as well.
 I have mixed feelings about these clear plastic sleeves. I don't like them because one can't get a good look and feel of the handwoven sample. On the other hand, they are handy when I want to use stickers as part of my card design.
I've also used hand knitted swatches and handcrafted paper as insets.
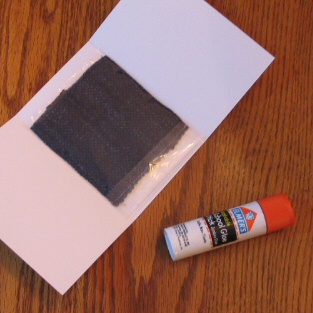 The inset (with or without the sleeve) is glued over the aperture first. I like to use a glue stick
1) because I have it and
2) I don't make as big a mess as when I use some sort of crafters' liquid glue.
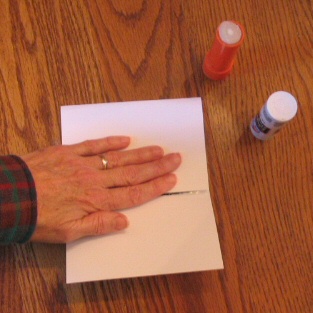 Then one end is glued on top of that. At this point I usually weight the card with a heavy book overnight, or until the glue dries.
 With the plastic sleeves, I can put stickers right on top of the fabric; something I wanted to do for what I had in mind here.
 On the back of the card I add a few details about the inset and then sign it. Finished!
And a few more:


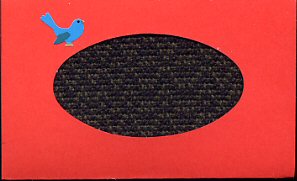 No, they're not all very Christmasy, but oh well. I only give these to folks whom I know appreciate them and probably won't throw them away. A set of them makes a nice gift as well.
Related Posts:
Gallery Photos: Greeting Cards
Q & A: Trifold Aperture Card Blanks
7 comments:
Very cute and quite crafty! Will have to file away that idea for next year!
Hi Leigh - I was going through old posts on my blog & found your comment from looooong ago. . . your blog is wonderful! Sorry I didn't find it sooner. I'll be back. . . Happy weaving!
Hi Leigh - Nice of you to "visit" us - I added a couple of pictures of our fading snow to my blog this evening.
What a surprise to see Yvonne's comment to you - she is a member of the wonderful spinner guild that I've gone to a couple of times. Here we are, both "Bellinghamsters" admiring your blog! If it's OK, I'd like to link both your blog & Rascal's on my favorite places to visit - let me know.
Well, it's time to hit the sack. T.
Very nice. Your list are very lucky to have you making their cards. Happy Holidays.
P.S. - I forgot to say - your cards are VERY cool! :-) T.
Lucky recipients. Those are very nice.
Beautiful cards. I love the snowflakes! Mainly I think because I've never really experienced them here in OZ.
Post a Comment