Heather does quite a bit of felting and fusion. A while ago she had shared some information with the Online Guild about silk fusion. I had saved a copy of her instructions on my hard drive, so I printed them out and gathered up my supplies:
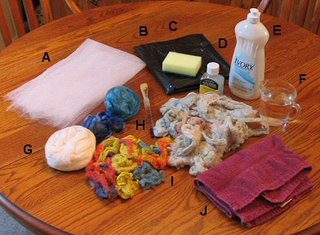
A - netting, B - plastic to cover my work surface, C - sponge for soaking up excess water, D - acrylic gloss medium, E - dishwashing liquid, F - cup of warm water, G - various silk tops, H - small, soft artist's brush, I - variety of hand dyed silk noils, J - towel for hands, drips, whatever.
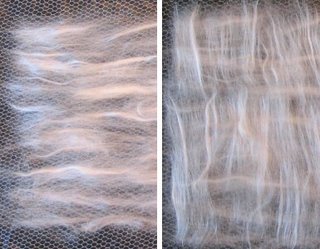
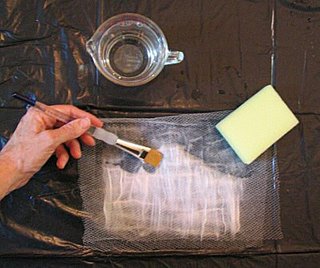
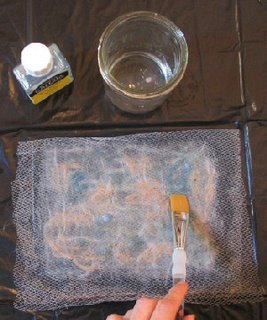
The netting was folded over and the entire thing wetted thoroughly with a dilution of 1 teaspoon dishwashing liquid in 1 cup of warm water.
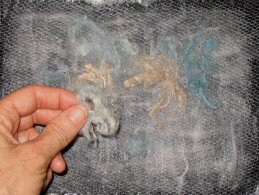
When thoroughly wet, the netting was lifted so that embellishments could be added. Here I added some of the pastel silk noils:
After embellishing, the netting is folded over once again and the entire thing rewetted. The sponge was used to mop up if I used too much water.
Ideally, I should have had a drying rack or screen to place this on but I didn't. I set it aside on a clean, dry towel and turned it occasionally.
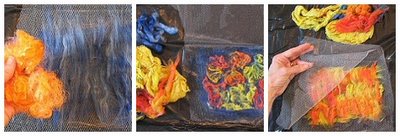
Left: I used my blue silk tops and embellished with some leftover throwsters waste which I had dyed.
Middle: Blue silk tops as a base embellished with silk noils.Right: This one is of silk noils entirely. I teased them out to make several layers.
I allowed them all to dry overnight.
The next morning I carefully peeled the netting off:
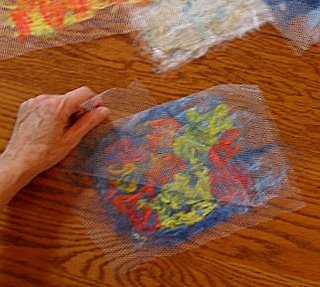
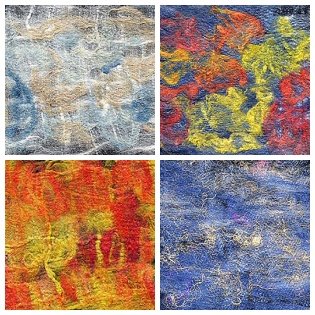
Here are my finished results:
I put the complete set of my silk fusion project photos on my Flickr Photos.
These were all quite spontaneous but I can see the potential for more thoughtful designing. If you want to see some beautiful silk fusion and projects made with it, spend some time exploring Sue B's blog. Her's are inspirational!
6 comments:
Wow, those are beautiful...I'm sure anyone who got a greeting card inset like that would love it!!!
What a beautiful use for silk, one of my favorite fibers! Thanks for visiting!
Very pretty, Leigh? Would you be able to use it for clothing embellishment, or does the acrylic make it too rigid?
Good question, Charleen. One of my samples is fairly stiff, but the others aren't. I guess it would depend on what type embellishment. Actually, I like your idea quite a bit. Crazy quilt type squares maybe? I'll have to add it to my ideas to consider.
OHHHHHH silk my weakness I have always wanted to try this... looks like paper. Just beautiful.
Nice tutorial! I need to try this. Thank you for commenting on my blog, and for telling me who brought you there--I really appreciate that.
Post a Comment